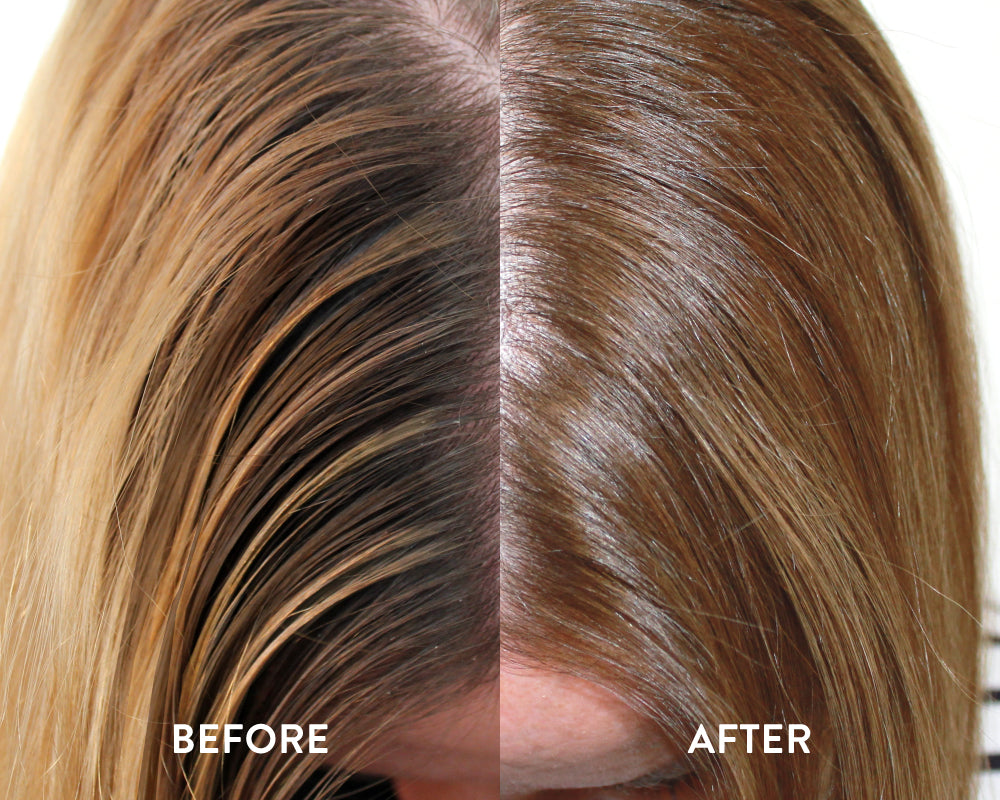
Tiger stripes. Those slabs of chunky, foiled Highlights that create a contrast so strong between your Natural and Lightened Hair that you may as well have clip in extensions. They’re big, they’re brash and we consider them obnoxious.
Tiger stripes aren’t nice to grow out, so we have developed a Colour plan to hide the stripes and have a more Natural Hair Colour or Balayaged look, while still keeping the Blonde bits you like.
The plan is to soften your Hair Colour at the roots, painting on what we call a base Colour. Your base Colour will help cover the striped lines you see at the roots and blend them into a smoother Hair Colour.
Choosing your base Colour
This is a one Colour process wonder, so you need to choose a base Colour that will add Depth to your Hair Colour and have some room for a small amount of contrast between your Highlights and rest of your Hair. Consider a Colour that is close to or no more than 2 shades Lighter than your Natural Colour and keeps within these Colour rules:
If your Highlights are Warm, choose a Natural Colour to make a softer, Natural base.
If your Highlights are Cool, choose an Ash or Beige Colour.
Your base Colour choice is important, so your Highlights and Colour can blend together.
For example:
Bianca is Naturally a 4 Medium Dark Brown with a full head of foils that have been Bleached and then Toned to around a 9.1 Light Ash Blonde. Currently, her Colour makes her feel like a zebra with Black and White striped lines through her Hair that harshly sits on top of her head. So she chooses a 5 Light Brown to paint in her new Base Colour.
Painting your base Colour
Painting your base Colour is like painting your Regrowth while also overlapping the start of your foils and bringing the Colour down the Hair, staggering the end points so you are not left with a straight Colour line. The aim is to blend your Regrowth and Highlight line, softening the foiling into a Natural looking Colour.
As the old rule goes, it's a less is more scenario.

Step 1
Divide your Hair into 4 sections, Colouring one at a time.
Using your Tint Brush, create a horizontal (when Colouring the lower sections) or vertical (when Colouring the top sections) row around a centimetre thick. Starting at your Regrowth, paint the base Colour over your Roots.

Step 2
Still on the same row, once you have covered your Regrowth, turn your Tint Brush to the side to get more control and paint the Colour down your Hair, tapering the end points to create a Natural appearance.
Continue through the rest of your Hair and process the Colour as per instructions.
Tip: For a smoother blend, comb through your Hair once full head is Coloured.


