I've always had a love affair with Blonde Hair, probably because I am Naturally a Medium Blonde. As a child, the sun did all the work for me, bleaching my Hair to perfection, but as a teenager, Highlights became essential for me. Then I would dabble with Dark Brunette Shades every few years, and every time I did, I was reminded of how much I loved the transformation. The richness of Brunette Tones made my fair skin glow, enhanced my blue eyes, and really made that pinkish hue in my complexion pop.
Side note: The best Blonde shades for me? Hands down, My Hairdresser 8.2 Light Beige Blonde and 10.2 Very Light Beige Blonde. I usually mix them with 20 Volume or 30 Volume Developer, and let me tell you—I cannot recommend them enough!
But back to my Brunette journey...
I was ready to see that glow back in my skin and to embrace a Brunette Shade again. This time, I decided to take matters into my own hands. No salon appointments, no risk of that dreaded greenish hue from at-home Colour disasters. I was determined to go darker—and do it right, from the comfort of my own home.
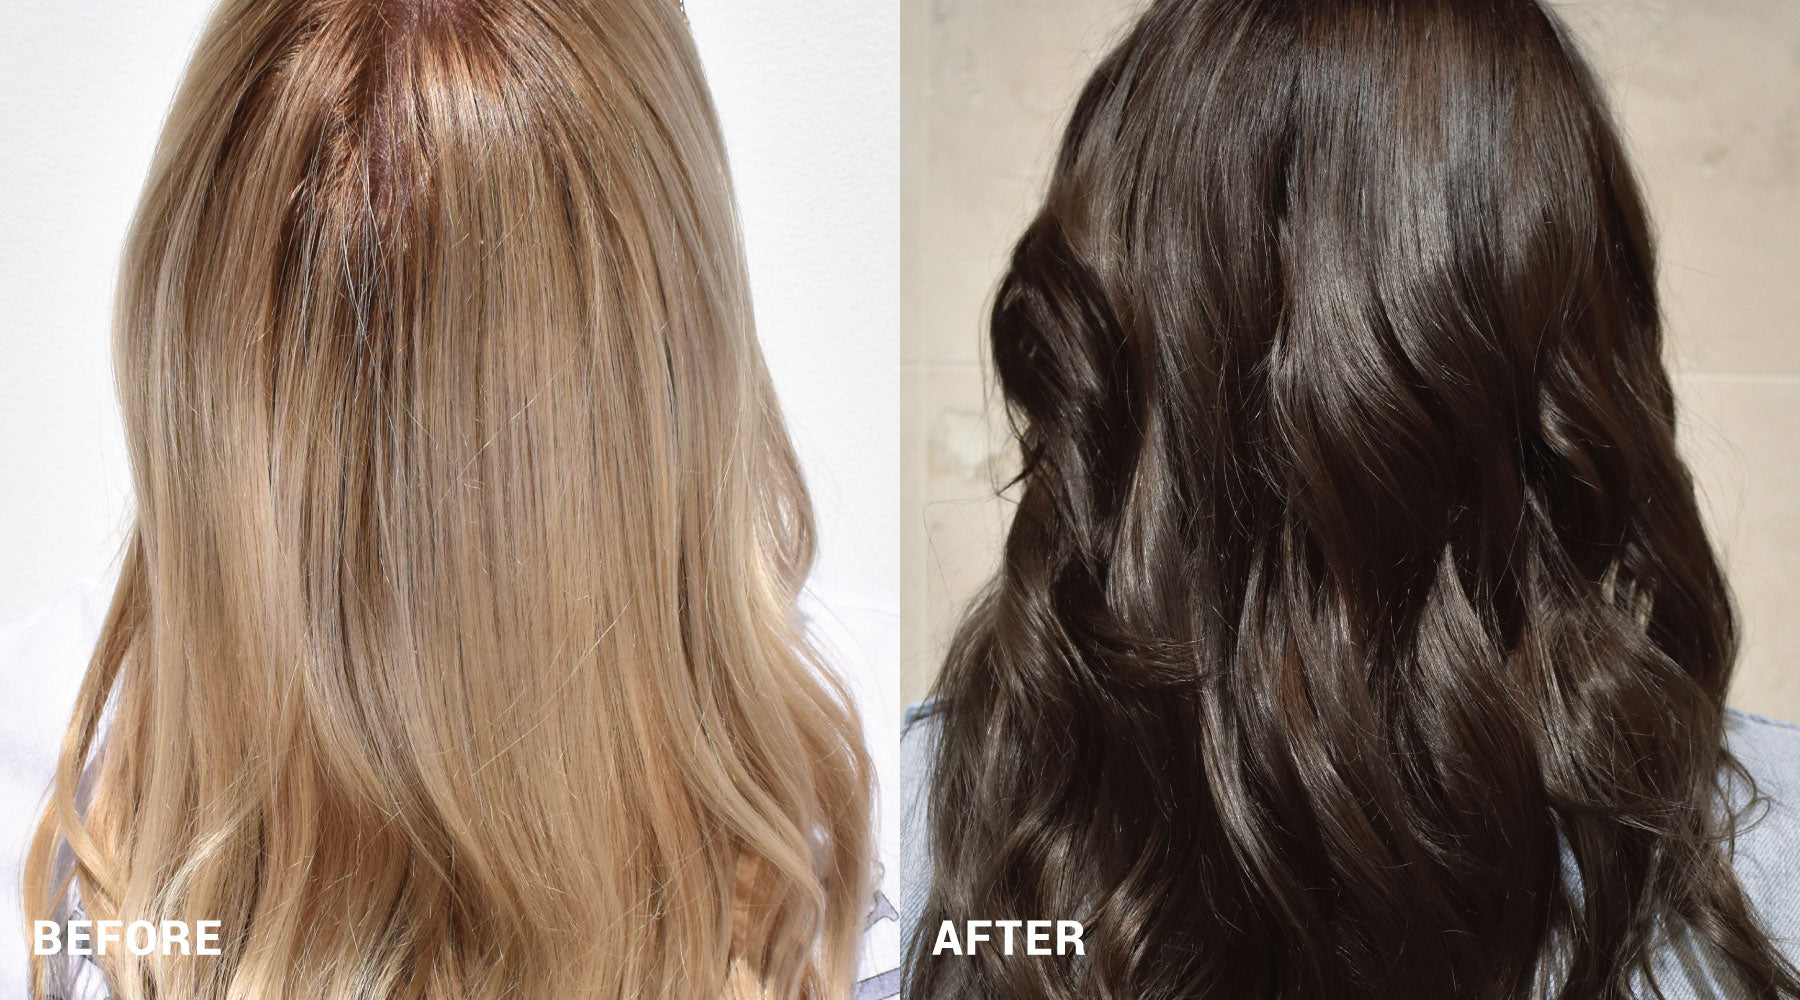
Here’s the best part: The results? Jaw-dropping. Show-stopping. That silky, sophisticated Brunette is everything I wanted and more. Plus, it’s the perfect lower-maintenance Colour.
My journey from Blonde to Brunette was not only fun, but it was easy—and so rewarding. Want to know how I did it? Here’s the step-by-step.

My Starting Point
With my Hair at a Very Light Blonde, I knew I couldn’t just apply Brunette over it—it would turn my Hair green or look washed out, making me want to run back to Blonde. So, I reached out to My Hairdresser support to discover I’d need a Colour Filler.

Colour
Filler
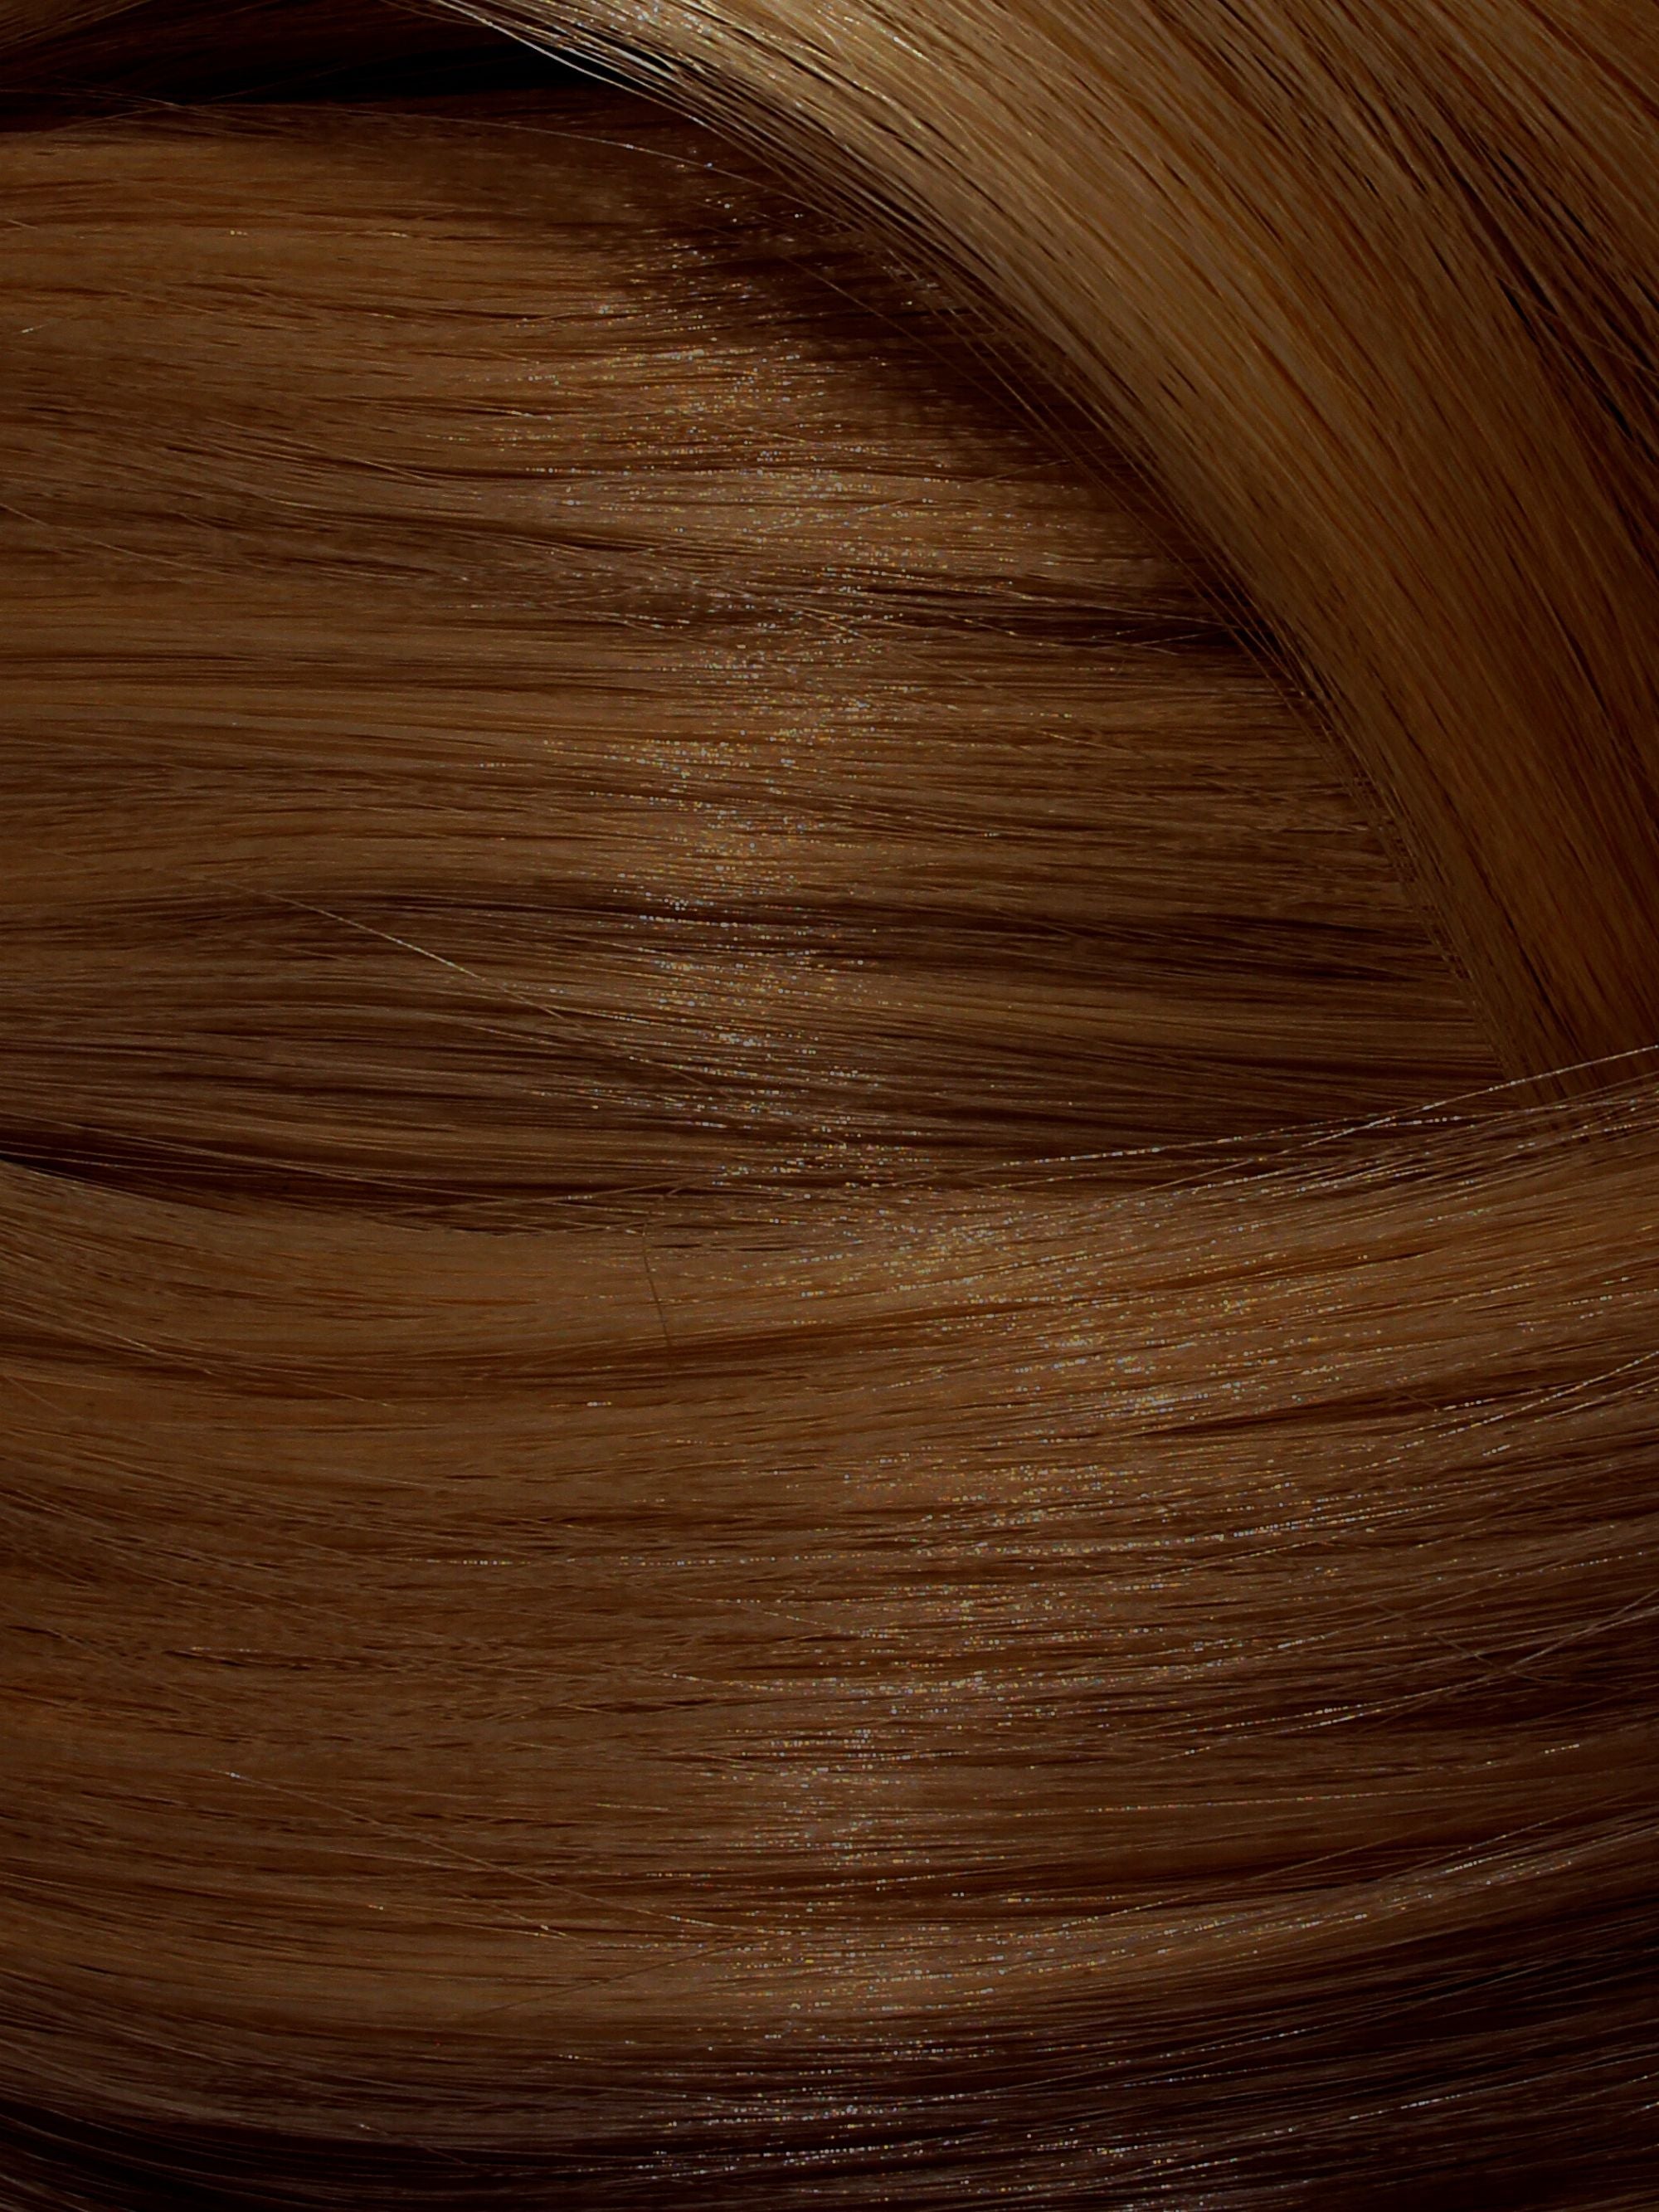
My goal Colour is 5.11 Intense Ash Brown. My Natural Blonde is a dull, Ashy Medium Blonde, but it always turns Gold when I Colour it. So, I opted for Ash—it has a cool, creamy crispness that aligned perfectly with my love for Beige Blondes. The 5.11 Intense Ash Brown felt like the perfect Shade to make this transition work.
Step 1: Filler Colour Time
On the day I Coloured, my Hair was in a less-than-perfect state—grown-out roots, Brassy Tones and a bit greasy (and, of course, under unflattering lighting!). But this was the ideal setup for my transformation.
For the filler Colour, I used 7.3 Golden Blonde with a No Lift Developer.
I applied my Colour Filler evenly to all my Very Light Blonde Hair and left it on for 40 minutes. This step was crucial to lay a Warm, Golden foundation for the Darker Shade to cling to, ensuring I’d get a true Brunette result without any odd green or washed-out tones.

The Results After Filler Colour
After the Filler Colour, my Hair transformed into a deeper, Warm Blonde with rich Golden tones. This layer of Warmth helps “fill” the Hair, giving the Darker Colour something to build off, and making my Hair look like the Colour has run off.

Step 2: My Goal Colour!
I couldn’t wait another day—I went straight for my goal Brunette Colour. With just a few Grey Hairs here and there, I chose a 20 Volume Developer to mix with 5.11 Intense Ash Brown to ensure complete coverage.
After mixing my Colour and Developer in my Tint Bowl, I used my Tint Brush to apply it evenly, starting with my Regrowth and then working through the rest of my Hair to ensure it was fully saturated. After clipping it up, I let it develop for 40 minutes.

And here I am—the new, glossy, cool Brunette, looking natural and ticking all my boxes!


