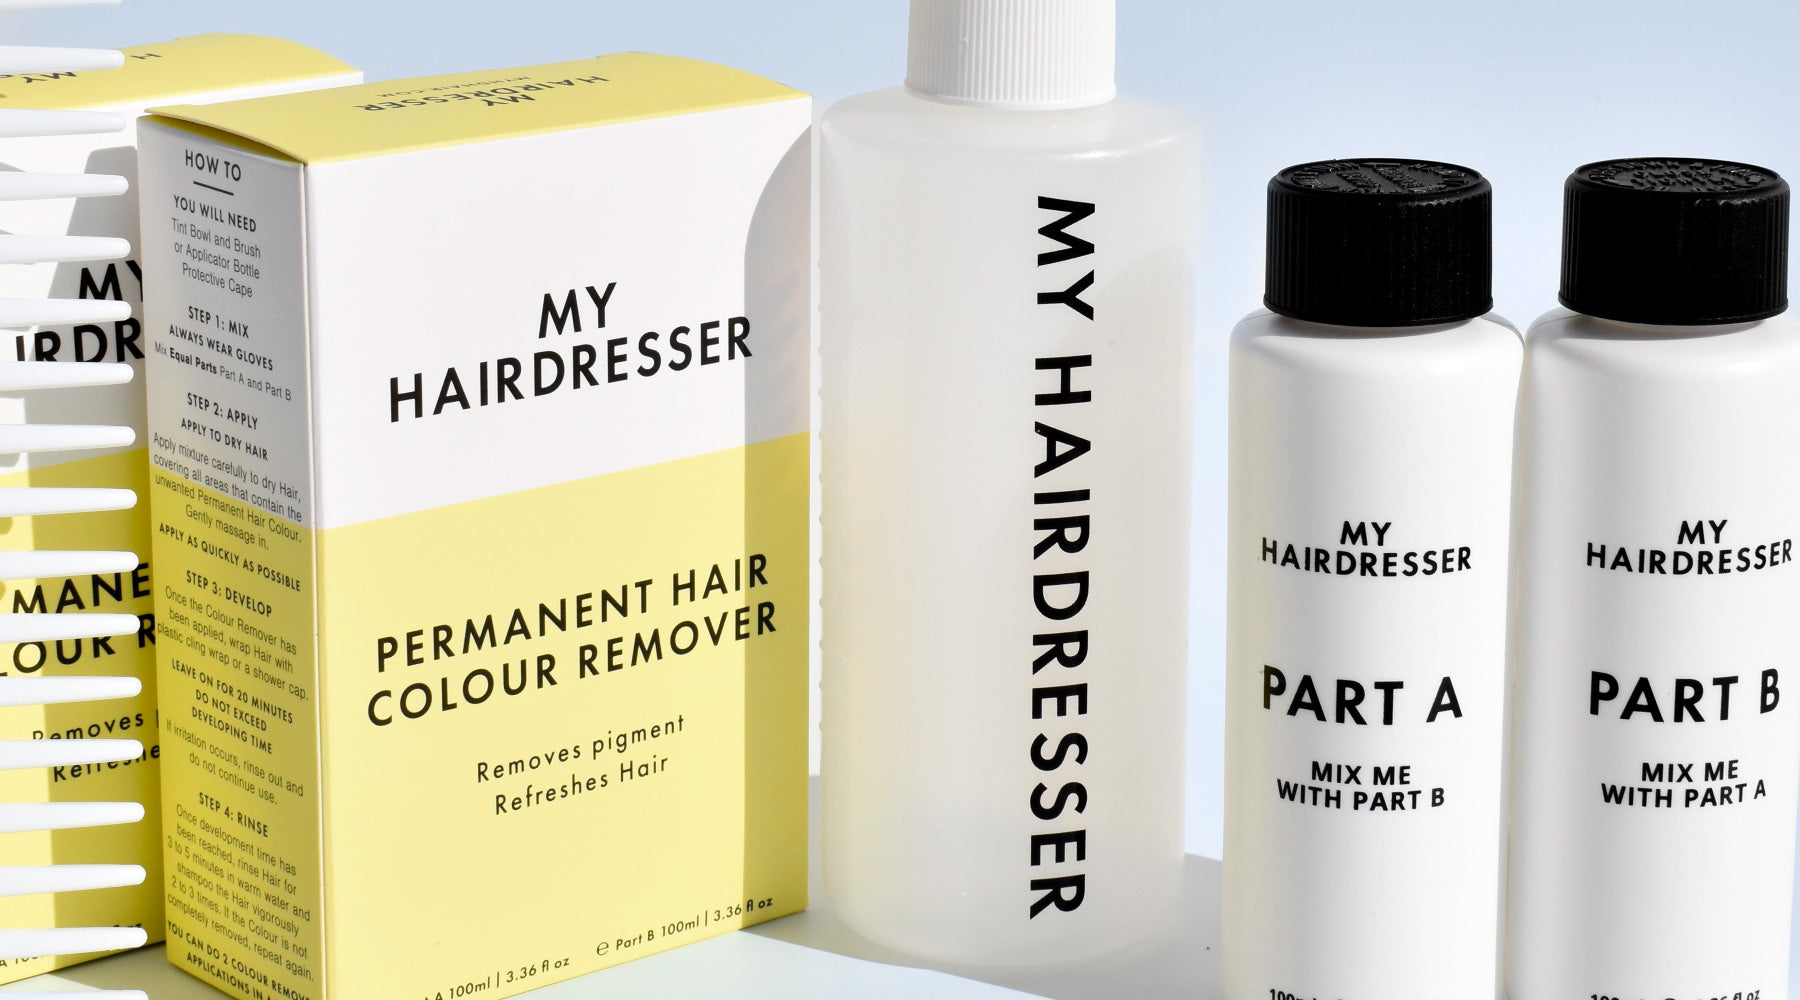
Once you've used Colour Remover and see the impact it makes to your Hair, you may find it is a mainstay in your Colouring regime. Whether you've had a Colour mishap, want to reclaim your Natural shade or need to do a deep cleanse of pigment — we're putting a spotlight on the 7 most important tips we focus on before getting ready to Colour Remove our Hair.
1. What do you want to remove?
Sounds simple, but it's an issue many slip up on — the Hair Colour you are about to remove must be permanent. Colour Remover can only remove a Permanent Hair Colour, if you need to remove a Semi Colour you can try it many customers have had great results we just can't guarantee you will too.
As important is how long has this Colour been on your Hair? A fresh Colour mistake is generally easy to manage compared to cleansing Hair of build-up that requires multiple applications (trust us it's worth it).
Which then leads us to another important question, what is under your Colour? Is there more Colour to remove? Like a past Red or Burgundy? We only ask because you'll need to clean that out too.
2. What do you want to see after Colour Removing?
Whatever is motivating you to Colour Remove can vary with each application, creating a rough plan of why and what you want to achieve will give you some idea of how much Colour Remover and support products you'll need.
3. What products are you using on your Hair?
We're talking shampoos, conditioners, treatments, toners. Before Colour Removing detox your Hair from any purple Toners, Colour protecting shampoos and the like — these products can get in the way of Colour Remover working its magic. Stop using them at least a week before you start to Colour Remove.

Colour
Remover
4. Have time up your sleeve.
Don't expect to go from Black to Blonde in one day if you want to keep your Hair healthy. You can do 2 Colour Remover applications in one day, it's bleach-free and won't strip your Hair of all the good stuff. We always recommend allowing your Hair to settle and wait until the following day, to take a good look at where you'll need to apply your Colour Remover.
Once you've successfully Colour Removed we encourage you to leave your Hair for as long as possible. After Colour Removing, your Hair is porous like a sponge that will suck up anything applied to it, allowing it to settle will benefit your next Colour.
Wait at least 24 hours before Toning. If you want to reColour with a shade similar to your Natural, wait at least 48 hours and choose a Hair Colour 2 shades Lighter. If you want to Lighten your Hair, we suggest waiting longer (preferably closer to a week if possible) and choosing a Shade Lighter than your desired hue.

Colour Remover
4 Pack
5. Do you have all the goods?
We can't emphasise this enough — be realistic with how much product will be enough. We're not just talking enough to properly cover your Hair (1 pack for short Hair, 2 packs for long or thick Hair), if you've got a bit of banding and build up or are removing a Darker shade you will need a couple of applications. Don't leave yourself in limbo, you'd rather have more than less.
6. Put effort into your application.
Keep an eye on your timing, mixing and applying your mixture as quickly and cleanly as possible to dry Hair. Don't waste applying Colour Remover to your Natural Hair, it's a waste of product, instead focus your application on your Coloured Hair specifically areas that have built up pigment. Massaging it through your ends helps the cleanse penetrate. Don't forget to wrap your Hair in cling wrap or a plastic shower cap to help the process along.
7. Keep calm and carry on.
Don't freak out if your Hair looks Warm and Orange afterwards — spoiler alert it means you've successfully Colour Removed and a welcomed sight that can easily be Toned or Coloured into your new shade. If you've only seen a slight change to your Colour, keep going, Build Up, Banding and Dark Colours need more attention (who says Blondes are the high maintenance!).


