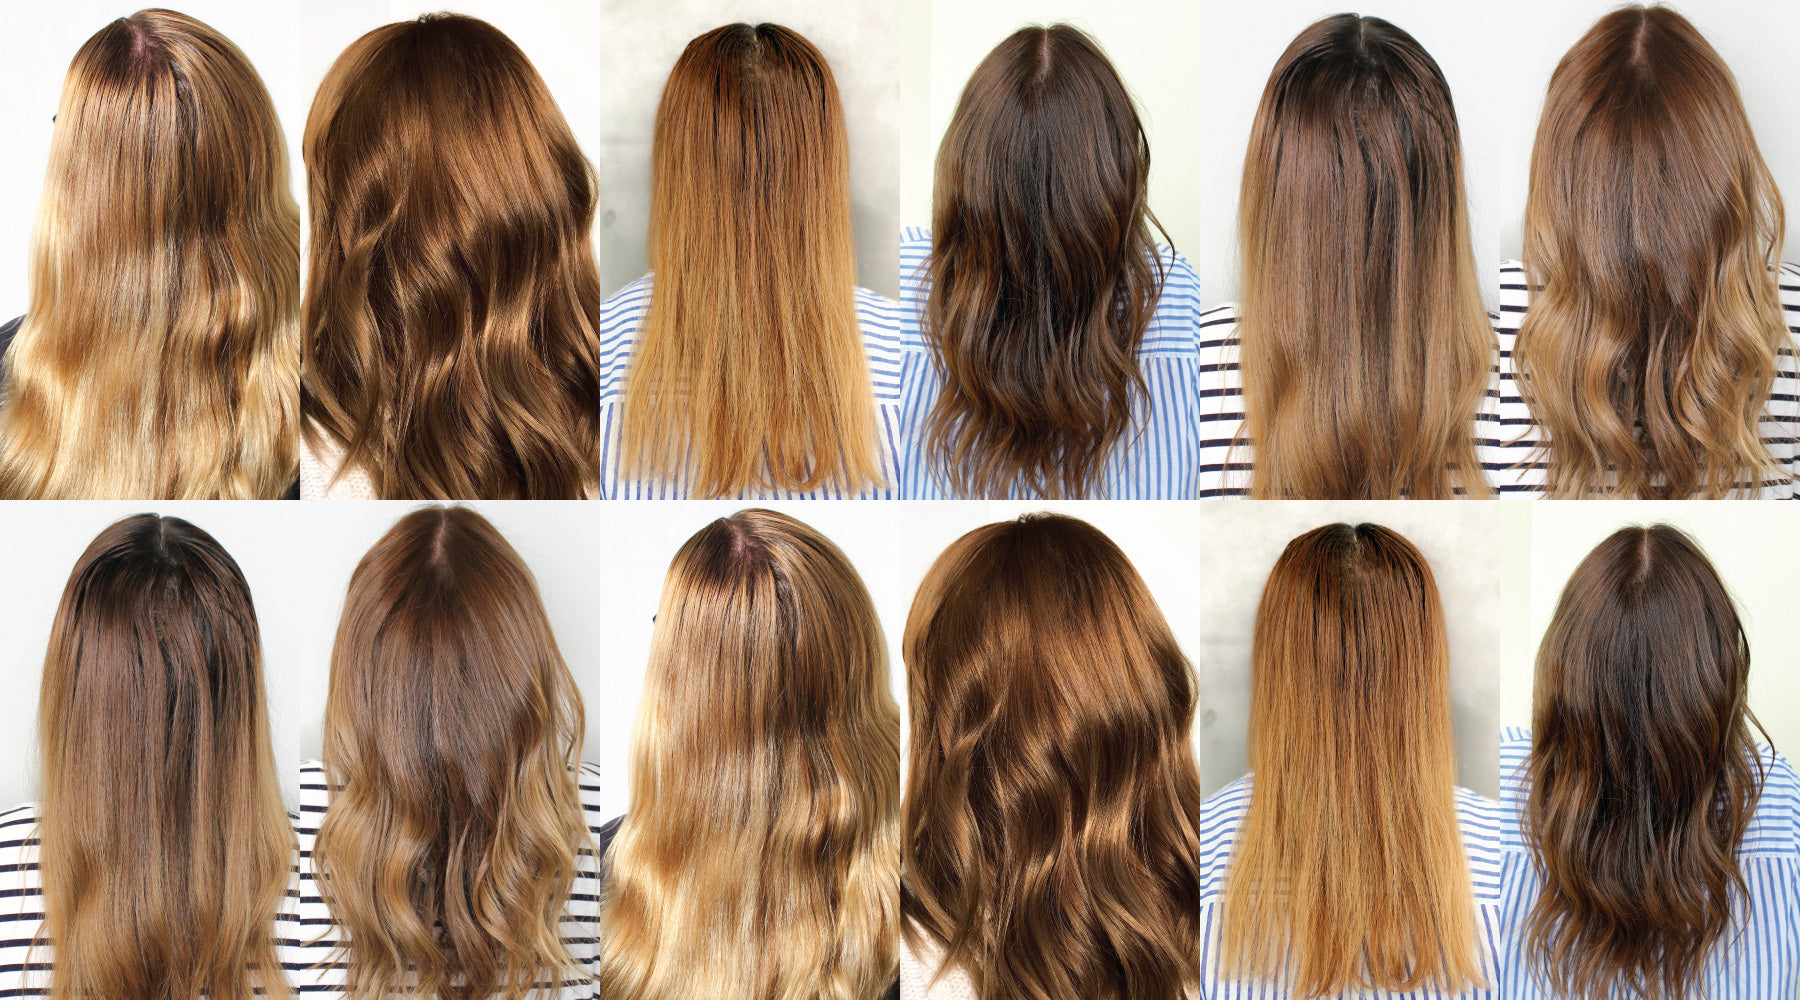
Tempted to change your Hair for the season or craving a dramatic shift? Or maybe you're ready to return to your roots? Our Colour vibe this year is all about rich, deep hues. We've embraced darker shades with no regrets!
Darkening your Hair varies from person to person. For instance, I had to fill in my Extra Light, Lightened and sun-bleached ends before achieving my stunning new Light Blonde. Without this step, my ends would have turned a dreadful shade of green while my roots remained perfectly Light Blonde.
Going darker doesn’t necessarily mean Colouring your Hair Dark Brown or Black. It can also mean a subtle change of 1-2 Shades Darker. So, where do you start? We've covered all types of Colour changes, big and small, to help you create a beautiful, harmonious new look.
Transitioning your Very Light Blonde Hair 1-2 Shades Darker To A Light Blonde
You may be surprised by how transformative this change can be. Break your Colouring process into two applications: one for your regrowth and another for your lightened ends. Start by applying your new, Darker Colour mixture to your regrowth, and once finished, begin the processing time.

Next, create another Colour mixture with your Darker Colour combined with a No Lift Developer and gently apply it through your lightened ends.

Tip: You do not need any Lightening power from your Developer on your already fragile ends.
Tip: If the ends of your Hair are extremely Light, avoid using an Ash or Beige Hair Colour, as it could turn your lightened ends grey or green. Opt for a Golden shade to act as a Colour Filler . This won't turn your ends Golden but will help rebuild pigment and create a better Colour blend.

Colour
Filler
Transitioning your Dark Shade, 1-2 Shades Darker
Dark Blonde or Brunette — the same method applies to both. To avoid causing Colour Build Up, which often occurs with Darker Shades, apply your Colour mixture to your regrowth first and start the processing time once fully covered.

When you have 20 minutes left of processing time, add a splash of water to your remaining Colour mixture to dilute it. Then, apply the mixture to your ends and ensure they are well covered. This simple technique will refresh and re-gloss your Hair ends while preventing Build Up.

Transitioning your Dark Shade, 3 or more Shades Darker
A major Colour commitment like this requires two processes: one to fill your lightened Hair and the other to achieve your goal Colour.
Step One: Use a a Golden shade mixed with No Lift Developer as your Colour Filler. Apply this mixture only to your lightened Hair. This will rebuild the pigment in your Hair, giving your new Colour something to build off. Choose a Shade that sits between your lightened and goal Colours.

Step Two: You can perform the second application on the same day, ensuring your Hair is dry. Apply your goal Colour to your natural regrowth first. Once it is completely covered, spread the Colour through your ends.

When You Want to Colour Over Your Ombre or Balayage
If you're transitioning from lightened ends and aiming for a fluid, seamless Shade, follow the same application method as above:
Step One: Apply your Colour Filler over your highlighted ends to create a base Colour.

Step Two: Apply your Darker Shade evenly over your Hair, from Regrowth to ends.

When You Want More Depth at Your Roots and a Refresh for Your Ends
This method offers a simple way to refresh your Hair Colour by opting for a subtle change to a darker Shade while maintaining your lightened ends. Choose a Hair Colour that bridges the gap between your natural Hair Colour and your lightened Shade. For example: if your Natural Colour is 5 Light Brown and your Hair is lightened to 9.1 Very Light Ash Blonde, consider using a 7.1 Ash Blonde.
Step One: Apply your Colour mixture to your Regrowth. Gradually taper the Colour down through your ends in small sections to add dimension.

Step Two: If your ends need Toning, apply your Toning mixture during the last 20 minutes of your Colours processing time.

Step Three: With 10 minutes remaining on the timer, use a Wide Tooth Comb to gently comb the Colour from roots to ends. This step helps blend and marry the two Colours beautifully.


