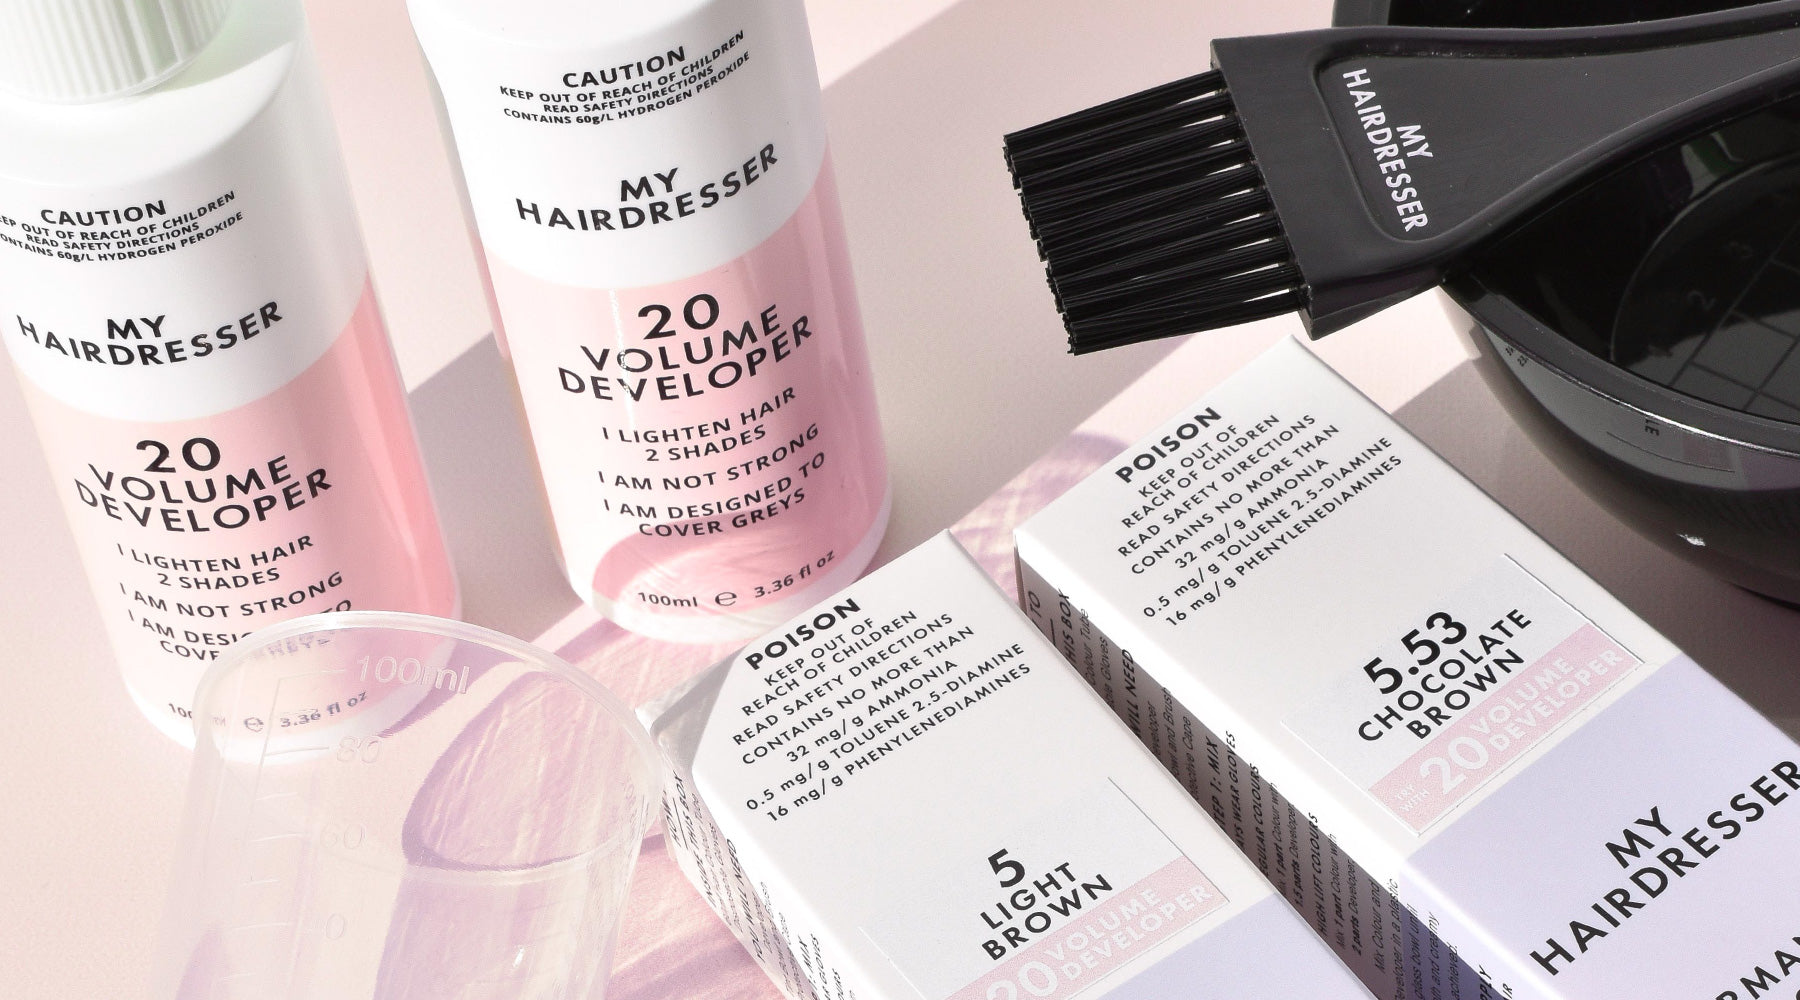
I’ve been answering questions about the My Hairdresser range for a few years now and, surprisingly, seeing it through somebody else's eyes has taught me quite a lot about Hair Colour. I, personally, consider myself to be a practical person and I’ve always loved the practicality of the My Hairdresser products. My penchant for practicality, my aversion to wasting time and product and my love of physically doing Hair Colour myself, has organically lead to the discovery of a few shortcuts and other tricks to get the most out of your time and product (and money!).
I challenged myself to list them all but I quickly realised that list was way too long. So, in keeping true to my practical, waste averse self, I made a shortlist of the 4 tips I think are the most important for home Hair Colourer’s to know, regardless of your skill level.

1. Your Tools Will Improve Your Trade
I can’t say this enough — your tool kit will be your best friend. Find the accessory that works for you. When I am Colouring or touching up my Regrowth I will always use a Tint Bowl and Brush Set because the Bowl is the cleanest and easiest way to blend and activate the Colour mixture. I’ll also use the Tint Brush turned on its side to paint Highlights and Lowlights or get to all those hard to reach places.
However, I will use an Applicator Bottle when I Tone or Colour Remove because it is so simple to shake, squeeze and spread your mixture through the Hair.

2. How To Get The Perfect Mixture
A perfectly combined, whipped Colour mixture free of lumps and bumps comes down to two things — how you mix your Hair Colour and Developer and what you mix it in. The best method for a well combined Colour mixture is to first squeeze your Hair Colour into your Tint Bowl and use your Tint Brush, or even better your Colour Whisk, to mix it into a smooth paste. Then add your Developer to your Colour paste and stir until you get a thick, creamy consistency. Not only is this Colour mix easier to apply to your Hair, but it also ensures you activate your Hair Colour.
When using an Applicator Bottle to Colour or Tone, pour your Developer into your Applicator Bottle first, then squeeze in your Hair Colour. (This should stop your Colour sticking to the bottom of the bottle.) Screw on your lid and give it a good shake until your Colour and Developer has properly combined.
You'll notice Colour Remover Part A and Part B has a different consistency. Add Part A to the Applicator Bottle (or if you prefer, Tint Bowl) first — it’s thick, creamy consistency can be a little stubborn to get out. When I think I’ve gotten everything out of the bottle, I like to screw the lid back on and stand the bottle upside down and then add any extras after I’ve added Part B. Once you’ve added Part B, screw the lid on, shake well (or use your Tint Brush to mix well) and you’re ready to go.

3. The Perfect Regrowth Application
I’ll say this line often — when you are touching up your Regrowth, only apply your Colour mixture to your Regrowth. There is no need to apply your mixture to your entire head every time you are Colouring, it will only cause Colour Build Up and overlapping Colour resulting in Colour Banding. If you need to refresh your ends, do so using the Colour Top Up Technique.
Hot Tip: Apply your Colour mixture to Grey or White stubborn Hairs first to give them a head start in processing.

4. You Can Do Two Processes At The Same Time
I love multitasking. I don’t want anything to take a second longer than it needs to, so I will often do double processes in the same sitting. For example. I will do a Regrowth Touch Up and then Tone the rest of my Hair during the last 20 minutes of my processing time to tame my nasty brassies. You can do the same for your vibrancy, where you apply your Colour through your ends using the Colour Top Up Technique during the last 20 minutes to pump up your pigment.
Hot Tip: Have all your Products out and ready before you begin. However, don’t mix your second process Products until you are ready to apply.


