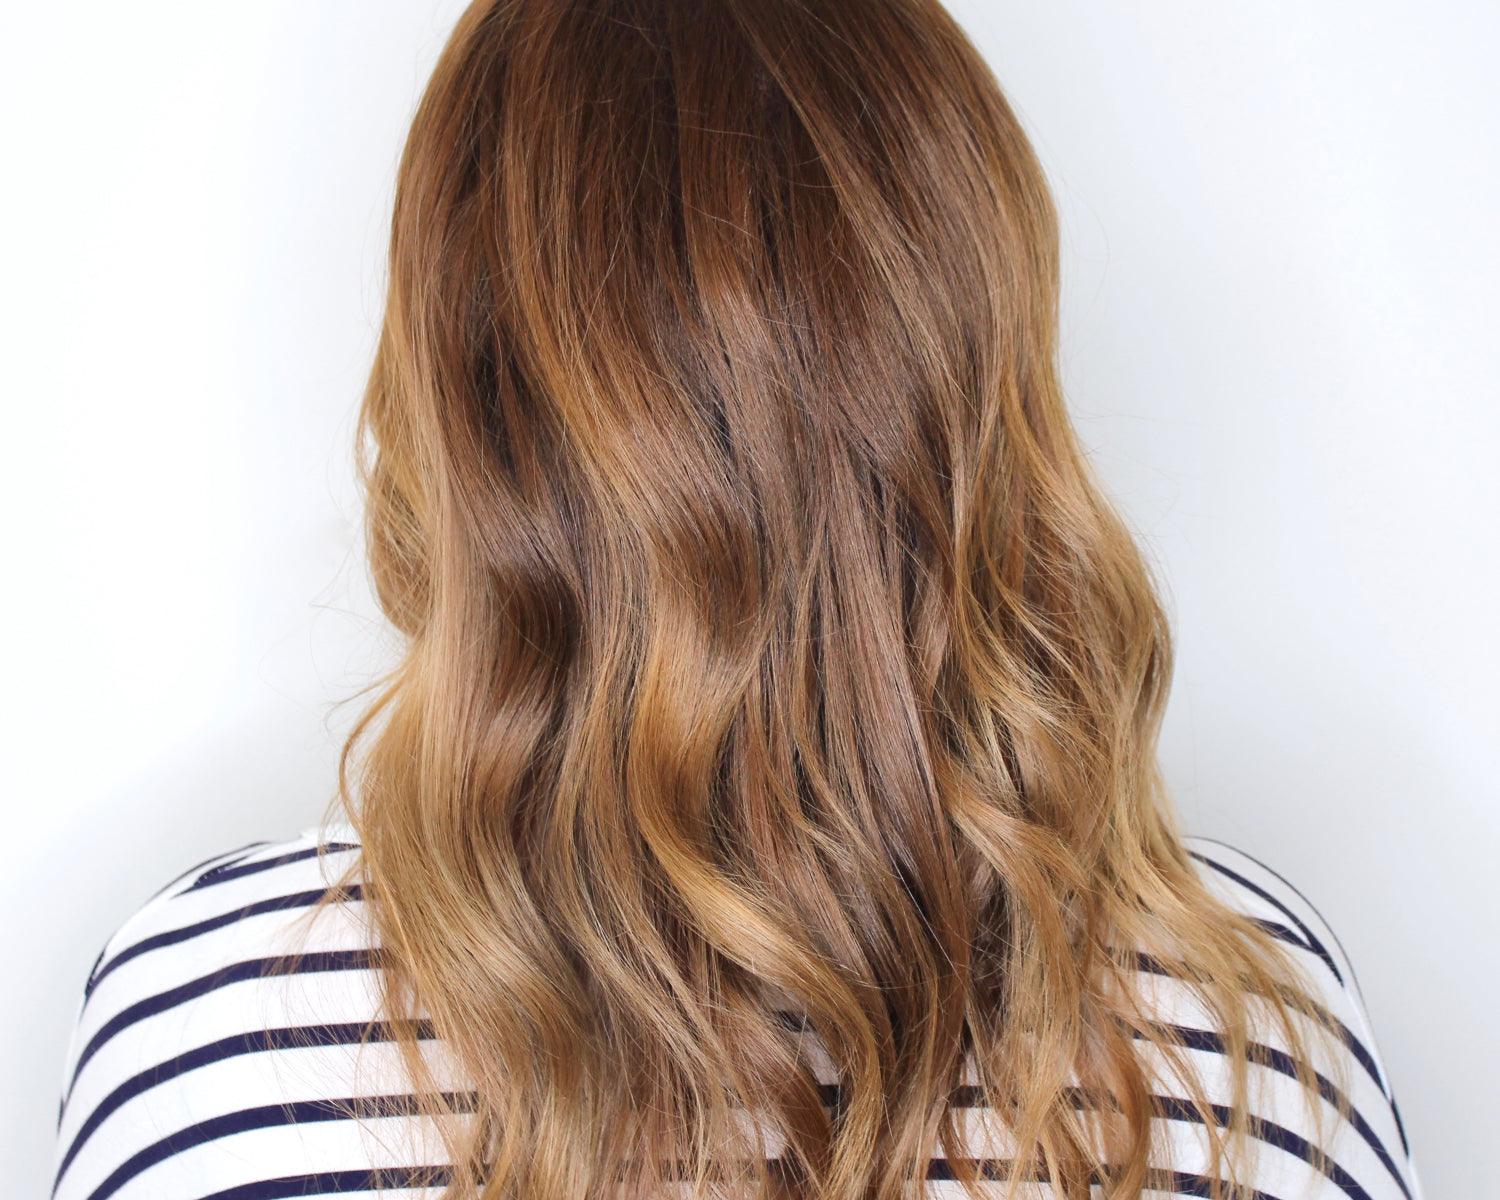
Our Colour Hotline handles a lot of inquiries for our Colour Consultants to dig their teeth into. I need my Hair to look like this. How do I cover my grey’s? Will Colour Remover get rid of Black Hair? But I recently sat down with my f(h)airy godmother and head Colour Consultant, Hanna, who enlightened me with the most popular request they receive. Which, to be honest, I was completely prepared for because it’s basically one of the My Hairdresser trademark styles (and one I am personally wearing).
We don’t have a name for this familiar style but I can best describe it as a Hair Colour with 2 Shades — a Darker Base Colour at the Regrowth and a Lighter Colour through the ends that are only slightly different but enough for a smooth blend.

I love this Colour because it’s easy, low maintenance and simple to touchup Regrowth and maintain your ends, while still bringing dimension to your Colour. And it’s the #1 Colour style recommended by our Consultant team for those looking to update grown out Highlights or to smooth out stripy foils.
So when it comes to choosing your two Hair Colours, stick to this Colour guide:
Your Base Colour should be a Shade close to your Natural Regrowth Colour — this is what makes the style low maintenance.
Keep your Colours within 2 Shades of each other. eg: 9.3 Light Golden Blonde ends with 7.53 Chocolate Blonde Base Colour.
Your Colours should be in the same Colour family. eg: Ash ends and an Ash Base Colour or Golden ends and a Golden Base Colour.
When you want bronzed, Warm ends choose a Golden Shade. If you’re looking for softer, cooler ends choose an Ash Shade or a Beige Shade if you want Colour a little creamier.
Then follow these steps to recreate the Colour.
Option One: When you’re starting fresh.
Step 1: Choose your Hair Colours.
Start by selecting the Lighter Colour Shade you want through your ends followed your Base Colour and Developers.
Step 2: Paint your Highlights.
Now you’ve selected your Colour and Developer it’s time to paint Casual Highlights through your ends. Casual Highlights are different because they start narrow and grow in thickness as you paint them through your Hair.

Begin by turning your Tint Brush on the side and, starting a few centimetres from your scalp, paint your Highlights through to your ends as quickly as possible. Remember to vary the starting point so your Highlights start higher and lower through the back of your Hair.
Once you’ve completed painting your Highlights in, allow your Colour to process and wash out as per the boxes instructions. Dry your Hair before applying your Base Colour.
Step 3: Apply your Base Colour.

Apply your Base Colour to your Regrowth, painting it down to the top of your Highlights and tapering where your Base Colour ends and your Highlights begin to give your Hair Colour a Natural look.

During the last 10 minutes of processing, use a wide-tooth comb to gently comb your Hair to blend your new Hair Colour.
Process and wash out as per the boxes instructions.
Option Two: When you’re Colouring over Highlights or foils.
Pre Colour note: As you already have Highlights your focus will be blending your Colour and Toning your ends.
Step 1: Choose your Hair Colours.
Start by selecting your Base Colour. As you’ve had Highlights we suggest choosing a Cool Ash or Beige Colour with a No Lift Developer to Tone your ends.

Step 2: Apply your Base Colour.
Apply your Base Colour to your Regrowth, staggering it down to soften the line between your Regrowth and Highlights.

Step 3: Tone your Ends.
After your Base Colour is on and processing, apply your Toning Colour to your ends. Once your ends are fully covered, use a wide-tooth comb to gently comb your Hair to blend your new Hair Colour. Process and wash out as per the Base Colour box instructions.


