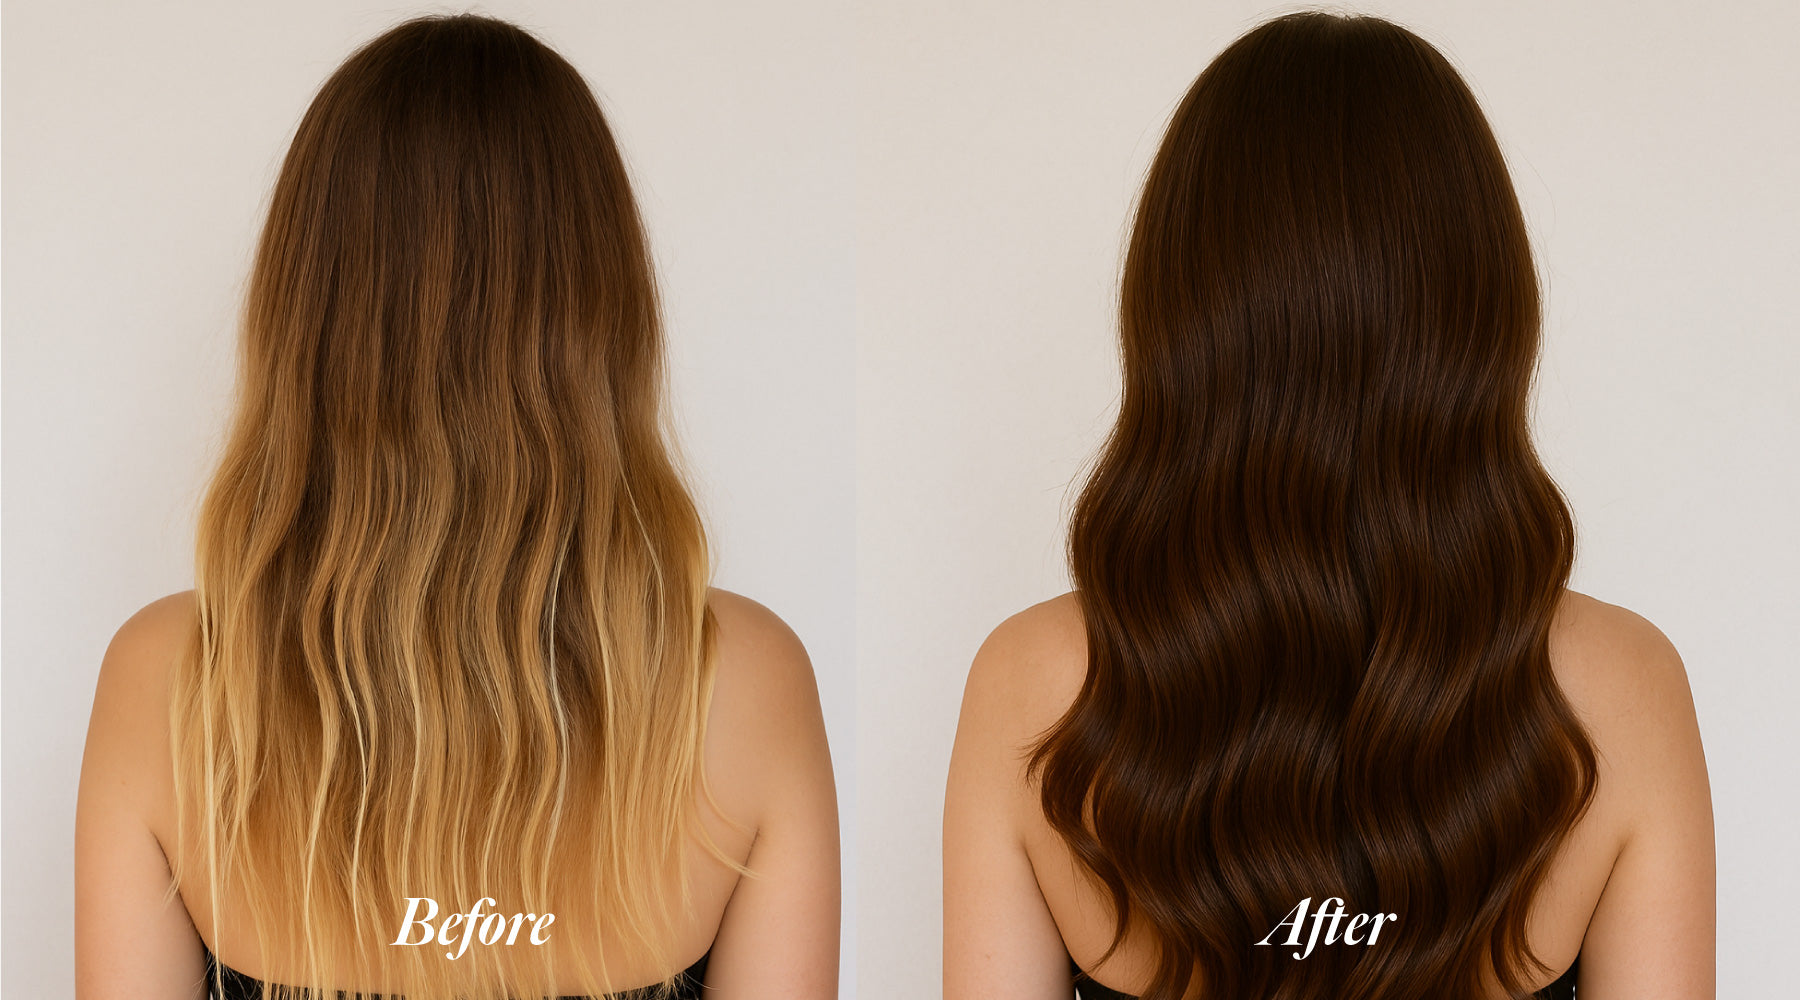
Ombre and balayage really had their moment — and honestly, they delivered. But if your grown-out ends are starting to feel less “effortless blend” and more “accidental dip dye,” it might be time for a change.
Sure, you could let it grow out Naturally (cue the six-month wait and strategic top knots). But if you're craving a fresh, all-over Colour that feels soft, seamless, and a bit more you — there’s a faster, way more satisfying way to get there.
The Problem With Just Colouring Over Ombre
Tempting as it may be to grab a box of dark Colour and slap it over your ombre, this rarely ends well. The Lighter, porous ends absorb and reflect Colour differently — which can lead to patchy results, unwanted tones (hello, murky green), and a finish that’s anything but polished.
To transition beautifully from ombre or balayage to a fresh, even Colour, you’ll need to take two simple steps. The good news? You can do both in one afternoon — or spread them out over a few days.
Step 1: Fill In Your Lightened Ends
First things first — decide what Colour you ultimately want to be. Everything from here on should work towards that goal.
When you Lighten your Hair (like those ombre ends), you strip out the Natural pigment that gives your Hair its richness and depth. That’s why simply Colouring over it can lead to patchy, dull, or uneven results.
To fix that, we need to bring some of that pigment back before applying your new Colour. This is where a Colour Filler comes in. It helps reintroduce the Warmth and pigment that was lost during Lightening, so your final Colour looks smooth, even, and glossy — not muddy, green or mismatched.
What To Use For Your Filler Colour
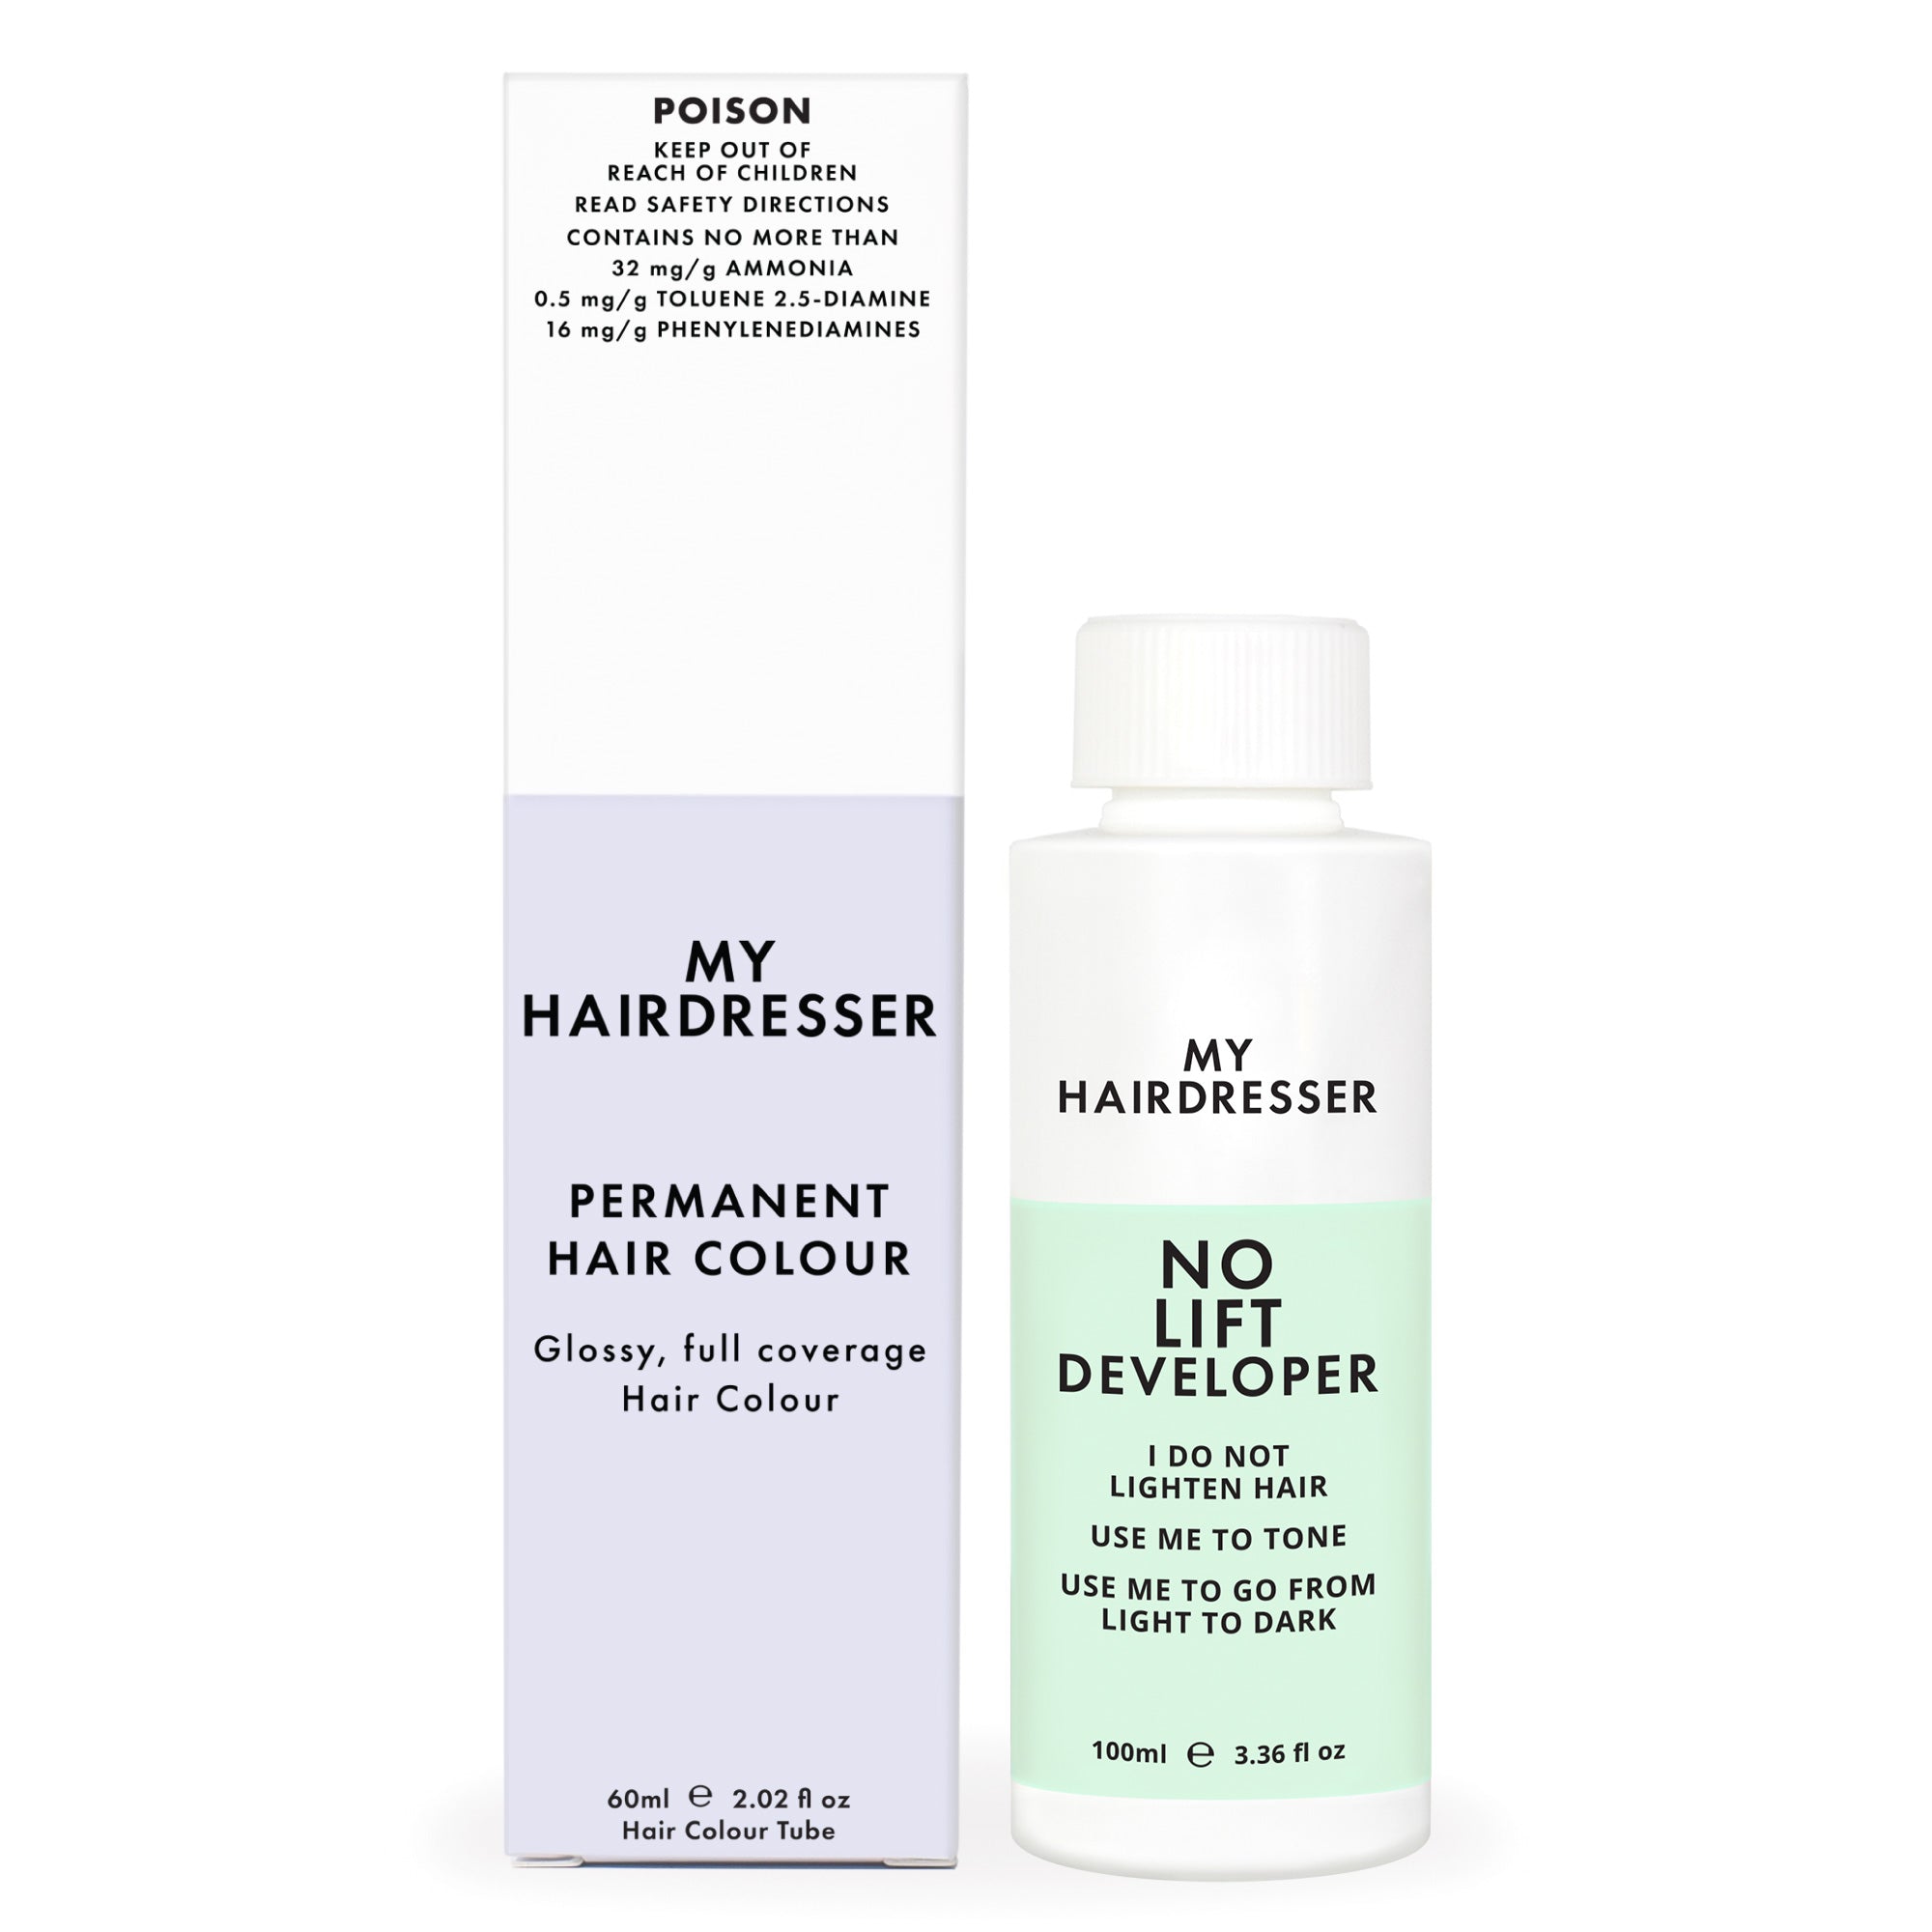
Choose a Warm, Golden, or Chocolate Shade that’s 1–2 Shades Lighter than your goal Colour. Mix with a No Lift Developer because you only want to deposit pigment onto the Hair. No Lightening is needed. Even if you’re aiming for a Cool or Neutral result, don’t skip the Warm Filler — it supports pigment building base and prevents murky or greenish tones.
Our go-to Filler Shades: 5.3 Golden Brown, 5.53 Chocolate Brunette, 7.3 Golden Blonde, 7.53 Chocolate Blonde or 9.3 Light Golden Blonde. Or try our Colour Filler Bundle (it includes a Colour and No Lift Developer).


How To Fill Your Colour
Pick a Filler Shade 1–2 Shades Lighter than your goal Colour.
For example: If your goal Colour is 5 Light Brown, try a 7.3 Golden Blonde or 7.53 Chocolate Blonde as your Filler.


Mix your Filler Shade with a No Lift Developer.
Apply the Filler only to your Lightened ends — skip your Natural regrowth completely.
Process as per the instructions, then rinse, wash and dry.
Once your Filler is done, your Hair is perfectly prepped and ready for your goal Colour.
Step 2: Apply Your Goal Colour
Now that your ends are filled and prepped, it’s time for your goal Shade — the Colour you want to be from roots to tips.
Choose a Hair Colour that is:
The same Lightness or Darker than the top section of your ombre. Mix your Colour with a No Lift Developer.
If your top section was your Natural Shade, you can Lighten it by a Shade or 2 based on your needs.Or if your have Greys mixed with a 20 Volume Developer.
In a Natural, Warm, or Cool Brunette/Dark Blonde Tone — depending on your desired finish.
Some universally flattering shades for this step:
5 Light Brown, 5.11 Intense Ash Brown, 5.53 Chocolate Brunette, 6 Dark Blonde, Intense Dark
Ash Blonde or Chestnut Brunette


How to Apply
Mix your goal Colour with a No Lift or 20 Volume Developer.
Apply the Colour mixture to your roots first.
Then work the Colour through to the mid-lengths and ends.

A Real-World Example
Let’s say your Hair is a grown-out ombre with super Light Ash Blonde ends and the top section is a Natural 5 Light Brown. You’re ready to become an even 6 Dark Blonde all over.
Here’s what to do:

Step 1: Fill the ends using 7.3 Golden Blonde — it’s one Shade Lighter than your goal Colour and packed with Warm Tones to build pigment into your porous ends.

Step 2: Apply 6 Dark Blonde all over using 20 Volume Developer. Start at the roots (to gently Lighten your Natural 5 Hair by one Shade) and then pull through to the ends for seamless coverage.
Let the Colour develop, rinse, wash, and blow dry. Voilà — cohesive, flattering, fresh Hair Colour without a hint of patchiness.

The best part? You don’t have to grow out your ombre or book in with a colour correction specialist to make a change. With the right steps — and a little hair care know-how — you can shift into a brand-new Colour chapter from the comfort of home.
So… what will your next Shade be?